
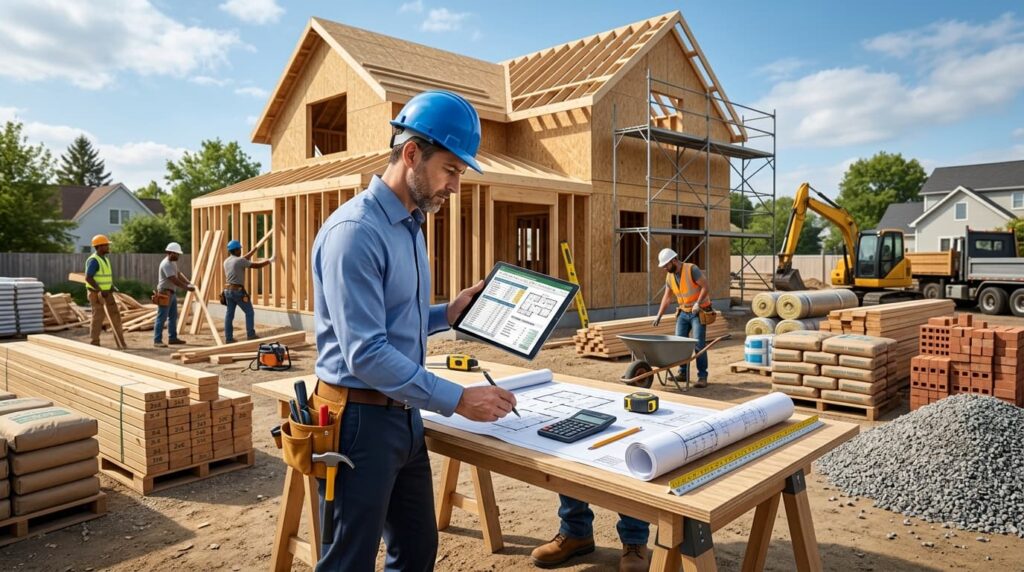
Construction is not a field where guesswork holds up well. Every wall, slab, and roofline depends on a chain of calculations, and getting those numbers wrong at the material stage almost always leads to bigger problems later: budget overruns, delayed timelines, or a crew standing around waiting on a second delivery.
Think of it the way you would think about baking a cake for a family celebration. You would not start mixing ingredients without checking the recipe, measuring quantities, and setting a budget for what you need to buy. Pouring a foundation or framing a house works the same way. Before a single material gets ordered, you need an accurate, well-organized estimate of exactly what the project requires.
This guide walks through how to estimate building materials for home construction step by step, covering the core formulas for lumber, concrete, drywall, framing, and roofing, along with the estimating methods professionals rely on to keep projects accurate and on budget.
Manual vs. Digital Material Estimation
There are two broad approaches to estimating construction materials: manual calculation and digital estimating software.
Manual estimation is labor-intensive. It requires measuring every dimension by hand, running each formula individually, and cross-checking totals for errors, all of which takes considerable time and leaves plenty of room for human mistakes. Digital estimating tools handle the same calculations far faster and with far greater consistency. Software does not misplace a decimal point or forget to convert units, which makes digital estimation the more reliable option for contractors managing multiple projects or working with tight bid deadlines.
That said, understanding the underlying formulas still matters, even if software does the heavy lifting. Knowing how the numbers are generated allows you to sanity-check software output, catch data entry errors, and communicate clearly with suppliers and subcontractors.
How to Calculate Material Estimates Per Square Foot
Estimating materials accurately starts with a reliable per-square-foot calculation. This is one of the most common points where contractors run into trouble, since even small measurement errors compound quickly across a full project.
Step 1: Measure the Area
Start by measuring the length and width of the surface or area under construction using a tape measure or laser measuring tool. Round the values for easier calculation, then apply the basic area formula:
Total Area = Length x Width
It is worth adding a small buffer, typically around 10 percent, to account for unexpected site conditions such as cracking, uneven surfaces, or material waste during installation. If the project covers an entire house or building floor plan, measure from the outside perimeter for the most accurate total.
Step 2: Identify the Materials and Products Needed
Once you know the total area, determine exactly which products the project requires. This step matters most with finish materials, where the customer’s preference, such as a standard broom finish, decorative texture, or specialty coating, changes both the product list and the coverage rate. Every product you plan to use should come with a documented coverage rate and application instructions, since that coverage rate is what drives the next step of the calculation.
Step 3: Calculate the Material Takeoff
With the area and coverage rate established, calculate the actual quantity of material needed using this formula:
Quantity of Bags or Gallons = Square Feet of Area / Coverage Rate
For example, if a stamped concrete overlay system has a coverage rate of 25 square feet per bag and the project covers 1,000 square feet, the calculation is:
1,000 sq ft / 25 sq ft per bag = 40 bags
The same approach applies to liquid materials such as release agents or sealers. If a release agent covers 250 square feet per gallon, and the project requires both a base layer and a stamped overlay, you would calculate each application separately and add the totals together. For a 1,000-square-foot project needing two full applications at that coverage rate, the total would come to 8 gallons.
Step 4: Calculate the Material Cost
Once quantities are finalized, calculate the total material cost and then divide by the total square footage to get a per-square-foot cost figure:
Cost Per Square Foot = Total Material Cost / Total Square Footage
For example, a total material cost of $3,060 across 1,000 square feet works out to roughly $3.06 per square foot. If equipment rental, such as a grinder needed for surface prep, adds another $130 to the total budget, the updated cost per square foot rises slightly, in this case to around $3.19 per square foot. Building in these smaller line items, rather than estimating materials alone, produces a far more realistic project budget.
Core Formulas for Common Building Materials
Different materials are priced and ordered in different units, which means each one requires its own calculation method.
Lumber
Lumber is typically sold by the board foot, a unit that accounts for thickness, width, and length together. The formula is:
Board Feet = (Thickness in inches x Width in inches x Length in feet) / 12
For example, a piece of lumber measuring 4 inches thick, 10 inches wide, and 8 feet long calculates as:
4 x 10 x 8 = 320, then 320 / 12 = 26.67 board feet
Multiply the resulting board footage by the local price per board foot to arrive at total lumber cost.
Concrete
Concrete is sold by the cubic yard, and calculating how much you need starts with the volume of the area to be poured:
Cubic Yards = (Length x Width x Thickness) / 27
For a concrete pad measuring 24 feet by 12 feet at a 6-inch (0.5-foot) thickness:
24 x 12 x 0.5 = 144 cubic feet, then 144 / 27 = 5.33 cubic yards
Because concrete waste is common during pouring, it is standard practice to add roughly 10 percent to the total:
5.33 x 1.10 = 5.86 cubic yards
Multiply the final figure by the local price per cubic yard to estimate total concrete cost.
Wall Sheathing and Drywall
Drywall and sheathing calculations depend on standard sheet sizes. For a 1,000-square-foot area using standard 4-by-8-foot sheets:
1,000 / 32 = 31.3 sheets
If using larger 4-by-12-foot sheets instead:
1,000 / 48 = 20.8 sheets
As with concrete, add roughly 10 percent for waste before multiplying the sheet count by the price per sheet.
Framing
Framing estimates require calculating both the studs and the top and bottom plates. Begin by adding up the total length of all walls in the project. For standard 16-inch on-center spacing, multiply that total length in feet by 0.75 to estimate the number of studs required, then add extra studs to account for wall openings, corners, and intersections.
For plates, use this formula:
Number of Plate Boards = (Total Wall Length x 3) / Length of Each Board
Multiply the final total by 1.15 to account for waste and extra coverage.
Roofing
Roofing materials are measured in “squares,” where one square equals 100 square feet of roof surface. To determine total squares, calculate the roof’s total square footage and divide by 100.
For shingled roofs, one square typically requires 3 bundles of shingles, and every 4 squares requires 1 roll of underlayment or tar paper. For a 2,000-square-foot roof (20 squares):
20 x 3 = 60 bundles of shingles
20 / 4 = 5 rolls of underlayment
Don’t forget to account for eaves and rakes when calculating drip edge requirements, and multiply the final material counts by the price per unit to reach total roofing cost.
A Simple Two-Step Approach to Estimating Materials
For contractors who want a straightforward way to organize the estimating process, breaking the project into two phases, ground-up and exterior, keeps things manageable.
Start From the Ground Up
Begin with foundation and structural materials. Decide whether you are working in square footage or cubic yards, then calculate concrete requirements by multiplying height, width, and length as described above. From there, move to framing materials, converting wall lengths from feet to inches:
Length in Inches = Length in Feet x 12
Then calculate the number of studs needed:
Number of Studs = Length in Inches / 16
This same general method applies to sheathing and drywall calculations, using standard 4-by-8-foot sheet sizes as the baseline.
Shift to the Exterior
Once interior structural materials are accounted for, move to exterior needs such as roofing and decking. Measure the roof’s total width and length to determine total square footage, then divide by the coverage per square of shingles or plywood sheet to determine total material quantities.
Working through the project in this order, structure first, exterior second, helps avoid missing materials and keeps the overall estimate organized from the ground up.
Three Estimating Methods Worth Knowing
Beyond material-specific formulas, three broader estimating approaches can speed up the overall budgeting process.
Unit Pricing
Unit pricing calculates the average material cost per square foot for a specific type of work, such as drywall, painting, or flooring, based on historical project data. To build a unit price, add up the full cost of materials for a job, including sheets, tape, compound, sandpaper, and any consumables, then divide that total by the square footage covered.
For example, if total material cost for a project comes to $1 per square foot and the job covers 1,200 square feet, the basic material cost is:
1,200 x $1 = $1,200
This approach is particularly useful for quickly pricing recurring, similar-scope jobs.
The Square Foot Method
When a fast bid is needed, the square foot method uses past project data to estimate a new project’s cost. Look at recent, comparable builds, divide each project’s total cost by its square footage, and use the resulting range as a benchmark.
Project Type | Final Cost | Square Footage | Cost per Sq Ft |
Residential duplex | $325,324 | 2,945 | $110.47 |
Two-story residential home | $272,468 | 2,404 | $113.34 |
Four-unit apartment building | $443,302 | 4,322 | $102.57 |
Using a benchmark range of roughly $102 to $113 per square foot, a new project’s estimated material cost is:
Material Cost Estimate = Total Square Footage x Average Price per Square Foot
The Rule of Two
The rule of two is a quick way to split project costs evenly between labor and materials, often used as a sanity check on a broader budget. For a $10,000 flooring project, the calculation is simply:
$10,000 / 2 = $5,000
That gives you $5,000 allocated to labor and $5,000 to materials. While a strict 50/50 split will not fit every project perfectly, it works as a reasonable starting benchmark, and experienced contractors often adjust toward a 49/51 or similar ratio based on the specific type of work involved.
Why Accuracy Matters in Material Estimation
Accurate material estimating is not optional in construction; it is foundational to a project’s financial success. Poor estimates lead to budget overruns, material or labor shortages, and delayed timelines, all of which erode profit margins and client trust.
Contractors who consistently produce accurate, well-documented material estimates tend to see real business benefits: stronger profit margins, more competitive and professional-looking proposals, higher bid-win rates, better client satisfaction, and a stronger overall reputation and portfolio over time.
Factors That Affect Estimating Accuracy
Several recurring factors make material estimates harder to get right, even for experienced professionals.
Project complexity. Modern construction increasingly involves custom designs and non-standard specifications, which require more detailed, project-specific takeoffs rather than relying on generic formulas.
Market rate fluctuations. Material prices have become far more volatile in recent years. Estimates built on outdated pricing data can throw off an entire project budget, sometimes significantly.
Technology choices. Using the wrong estimating software or tool for a given task can introduce errors rather than prevent them. Choosing the right digital tools, and understanding their limitations, matters as much as using technology at all.
Communication and collaboration. Poor coordination between estimators, contractors, and suppliers increases the risk of miscommunicated quantities or specifications, which shows up as costly errors later in the project.
Risk assessment and contingency planning. Weather delays, permitting issues, and material shortages are common enough that skipping contingency planning is one of the most avoidable causes of estimate inaccuracy.
Common Challenges in Estimating Building Materials
Beyond the factors above, contractors and estimators regularly run into a handful of recurring challenges: increasingly complex and custom project designs, tight bid deadlines that leave little room for error, budget overruns caused by earlier estimating gaps, limited access to quality estimating software, difficulty sourcing current, reliable pricing data, and a highly competitive market where accurate, professional bids make the difference between winning and losing a project.
Tips for Building More Accurate Material Estimates
A few consistent habits separate accurate estimators from the rest:
- Understand the full scope and unique features of the project before estimating begins.
- Visit the site directly to check soil conditions and other physical factors that could affect material needs.
- Include every material in the quantity takeoff, not just the major line items.
- Use comparable past projects as a benchmark, but only when they closely match the current job’s scope.
- Choose digital estimating tools that genuinely fit the task at hand.
- Factor labor, materials, and equipment costs into the same budget rather than estimating them separately.
- Always build in contingency and overhead costs.
- Finalize subcontractor pricing early and add it to the estimate as soon as it is available.
- When in doubt, bring in professional estimating support rather than guessing on complex material quantities.
Frequently Asked Questions
What is the best method for estimating building materials?
There is no single best method; unit pricing, the square foot method, and detailed material takeoffs each work well for different situations. Most professional estimators combine several approaches depending on project type and available data.
How much extra material should I order for waste?
A common industry standard is to add roughly 10 percent for materials like concrete, drywall, and shingles, though this can vary depending on the complexity of the project and the material itself.
How do I account for rising material prices in an estimate?
Base your estimate on current market pricing rather than historical data, and build in a contingency line, often 5 to 15 percent of total project cost, to absorb potential price increases during the build.
Is digital estimating software worth it for small projects?
Even on smaller jobs, digital tools reduce the risk of calculation errors and save significant time compared to manual measurement and formula work, making them worthwhile for most contractors.
What happens if a material estimate is inaccurate?
Inaccurate estimates commonly lead to budget overruns, project delays, and material or labor shortages mid-build, all of which increase costs and can damage client relationships.
Final Thoughts
Estimating building materials accurately is one of the most important skills in home construction, and it comes down to a combination of reliable formulas, careful measurement, and realistic contingency planning. Whether you are calculating cubic yards of concrete, board feet of lumber, or squares of roofing, the underlying goal is always the same: know exactly what the project needs before you place an order.
If you would rather hand this process to professionals who handle these calculations every day, Digital Estimating provides detailed, accurate material takeoffs for residential construction projects of every size, so your budget, timeline, and material orders stay on track from the very first shovel of dirt.